Our friends Tanya and Dale just got married and I thought I would share with you part of their Wedding gift...DIY Photo Coasters.....even if it is alllllllllll over Pinterest
I wanted to give them something they wanted so of course that means a gift off their registry....easy peasy. But I also couldn't let a big event like a wedding pass by without getting a little DIY action in
I figured coasters were something they could actually use in their house....but still sort of off the grid. I don't think many people wake up and think "Hey....we need coasters with our faces on it!"
That's where I come in.......
You need
Mod Podge, Plain tiles, Pictures, & Acrylic Sealer spray

Now I gotta confess.....I felt like a total creeper acquiring these pictures. They hadn''t gotten back all their engagement photos yet so they only had 5 "sneak peek" pictures on their Facebook pages from the photographer. And in total stalker/creeper status I saved them to my computer.
Is it just me or is that totally weird when you stop and think about it? Like I'm pretty confident they won't think anything of it (until they read this....awesome.) but it is kinda of weird that anyone can just right click and save your face. But I guess that's a risk we all take right? haha
Anywho....clean your tiles well and cut your pictures to size. I decided I wanted a border so I cut them into 3 inch squares
Apply Mod Podge to the back of the picture with a foam brush and position onto the tile. Apply 4 coats of Mod Podge or more letting dry completely between each coat. I would brush side to side for one coat, let dry, then up and down and repeat. Unfortunately there is no getting around the fact that there will be brush strokes....so just got over it now. I had to.

After you've done enough Mod Podge coats, spray 4-5 coats of acrylic sealer.
I do these over the course of 3 days (start to finish) to ensure that each coat was completely dry and I didn't end up with globs
Once they were completely dry I added feet by cutting out squares of stiffened felt and hot gluing them to the bottom

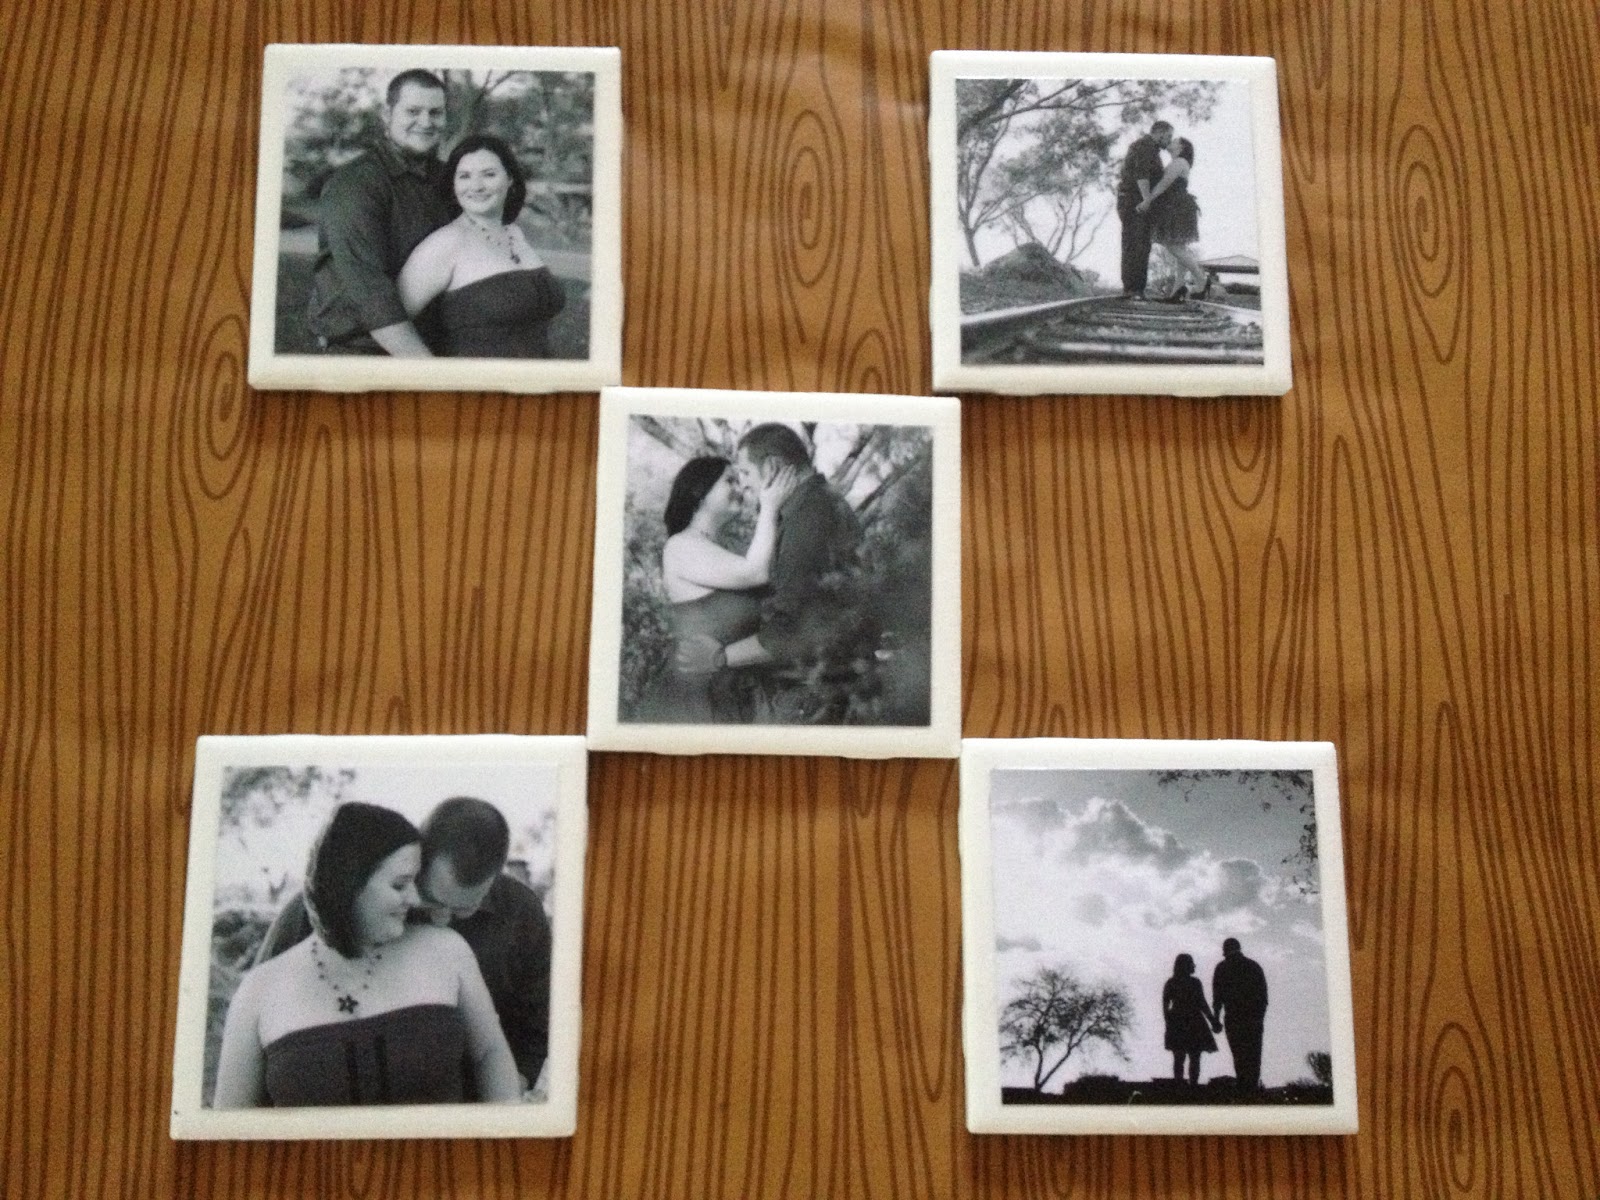
Here they are all done
Wrapped them up in some ribbon that coordinated with the wedding colors

And that's all it took! I really love how they turned out and hope they like them too. Even with the whole stalker aspect.....
No comments:
Post a Comment