Tuesday, July 31, 2012

Reese's Cup Cookies

My brother in-law loooooves peanut butter.  So for the past 2 years I've given him peanut butter themed gifts.

The other things have changed, but both times I've baked him these cookies.  It's your basic peanut butter blossom recipe....you know....the ones with the Kiss pushed into the cookie.

But to make it more peanutty buttery I use Reeese's cups instead.  

I've seen alot of different recipe variations for the blossom cookie, and I've tweaked them over and over to get the taste I like.


Cream together your peanut butter and butter shortening.  Scrape down and add the egg, vanilla, and brown sugar.  Beat until fluffy


Combine all your dry ingredients...flour, salt, baking soda....and gradually mix into wet ingredients.  scrape down sides and mix until well combined


Roll into balls the size of walnuts and roll in white sugar


Bake at 350 for 10 minutes.  While they are still warm, press the Reese's cup into them...letting the cookie sort of crack and open up.  Let cool. 


If you want to speed up the process, you can place the cookies in the freezer for a few minutes to make them easier to transport without getting chocolate all over the place 


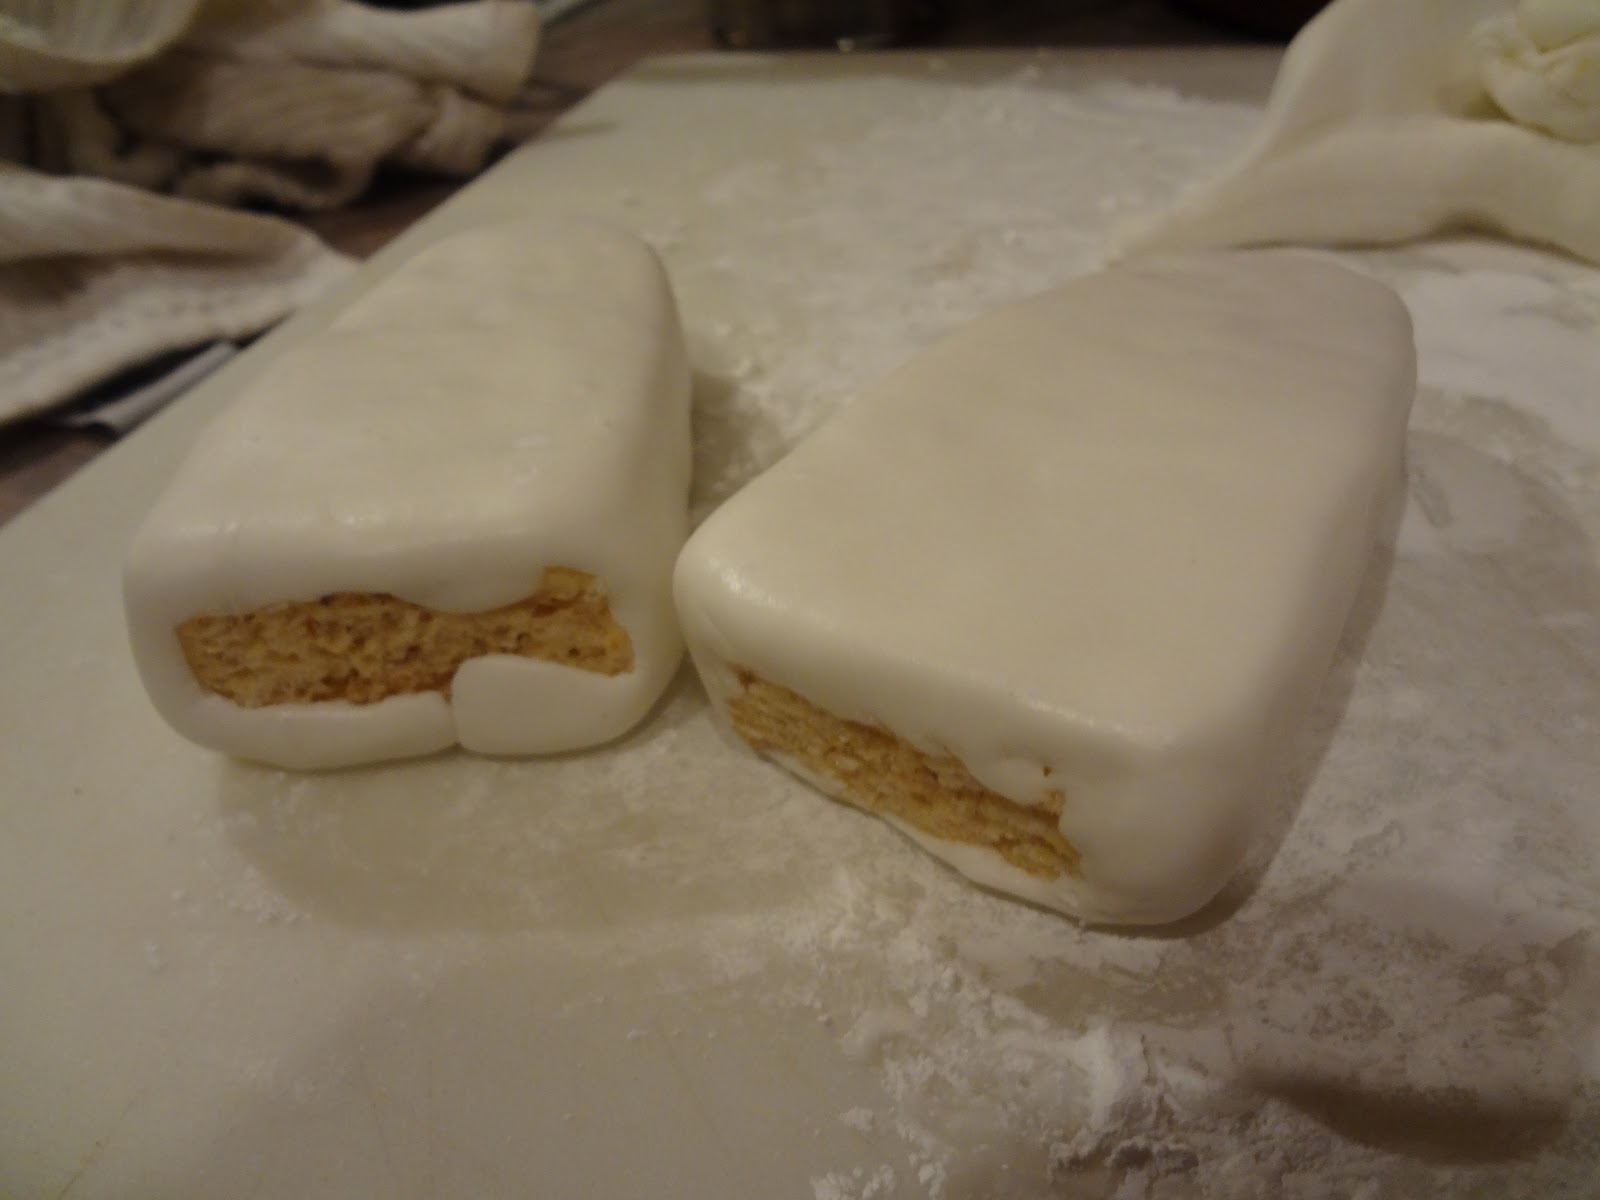
 This here is my husbands bite ^^^


Blossom Cookie Recipe


1/2 C. butter flavored shortening

1 C. creamy peanut butter
2/3 C. brown sugar
2 tsp. vanilla
1 egg
1 1/2 C. Flour
1 tsp. baking soda
1/2 tsp. salt

White sugar
Candy of choice

Cream shortening and peanut butter.  Add brown sugar, vanilla, and egg and beat until fluffy.  Stir together dry ingredients and gradually add to wet until well mixed.  Roll into walnut sized balls and roll in white sugar.  Bake for 10 mins. at 350.  While warm press candy into cookie, allowing it to "crack" open


Thursday, July 26, 2012

Bunny Cake Tutorial (Easy....I promise)

So I know that only like.....3 posts ago...I said I don't do cakes anymore.

Well,.......... I spoke too soon.

I just delivered one today.

Yep.  I caved yet again.  At least the times I give in are much fewer and farther between........right?

Progress????

(I sound like a smoker.   "I'm down to 5 a day.....no wait....4!")


One of my supervisors asked me to make a bunny cake for her nieces birthday who was visiting from out of town.   

And I don't know about you but I sure as hell have the hardest time saying no.  It's bad enough over text or facebook or email.....but in person......forget about it!   I cave in about 90% of the time if it's to my face.  

And it kills me cuz I say it so perky too

I'm all "Oh yeeeaaa.  Nooo problem at all.  Oh yea....absolutely.   Just let me know the details"

When inside I'm screaming  "NOOOOOOOO!  Don't do it!  Custard filling?  F*** that!  SAY NO!  SAY NO!  For the love of god woman get it together and just say you're busy!!!"

It's an exhausting internal battle.


And then the night comes to do it.  I worked a 10 hour day and I have to go home and create an edible bunny masterpiece.  I'm pissy......shaking like a leaf on the verge of a heart attach from all the Rockstars I've consumed.....and yet I'm still tired as ever.  The whole time I do it I'm grumbling and wishing I was on the couch crafting and watching The Golden Girls.  Crafts have no due date.....generally speaking.  You can take your sweet ass time.

But through all the shaking and swearing I managed to snap a few photos so you can see how this bunny comes together


I used an 8 in cake pan, and 8 in oven safe bowl, a 6 in oven safe bowl, and the smallest baking pan I have (I think it's 4 in)

 
Fill each pan 1/2-3/4 full and bake.  You will need 2 of the smallest cakes.

After they have cooled, fill and stack the dome shaped 8 in cake onto your regular 8 in cake layer


Next, slice a little bit off the edge of the 6 in dome cake so that it can lay flat on the board and be pushed against the other cake to form the head.  Put a dowel through both cakes as you put it in place


Crumb coat the entire cake using buttercream.  MY RECIPE works great

Here's how it will look


It reminds me of an igloo.  So note to self....someday if my kids ever have to do a project on the arctic....I'll know what to do.


Next, trim off the tops of you 2 mini cakes making them about an inch tall.  Then cut them like this


One basically in half...(minus a tiny bit in the middle) to be the back legs


And then the other trimmed a little off the sides to make smaller front legs.


Stick those to the sides and frost as well


I know what you're thinking....it kinda looks like ass.  But I promise it'll get better

Now comes the fur!  
Pipe on the buttercream using the grass tip.

I know it seems super daunting when you see this big huge cake and this little tiny tip....but here's what I found helps.

Make sure you give it a good coat of frosting with a spatula first.  That way when you sort of miss little spots that aren't perfectly close together you won't notice.  Especially with chocolate cake....it can be a bitch to cover.

Also, create little sections for yourself as you work.  It makes it go much faster to just look at on small area at a time to concentrate on


Here it is all covered


And with a big open tip swirl on a cute little cotton tail


Using fondant, make your cheeks, nose, eyes, and in this case because it was for a little girl...some girly little eyelashes!


(that's just cornstarch on there,,,,just rub a little shortening and it'll go away)


And of course a bunny isn't a bunny without those ears!


Form ear shapes out of rice crispy treats and cover in fondant.  Place a wood dowel through them that has been measure to make sure it is the right height to fit into the head.  Make these at least a day ahead of time so they can dry out a bit and harden up


Stick them in and you have yourself a bunny!


 I just noticed I didn't take any side pictures of it.....darn it!  But you did see the back in the butt picture


Monday, July 23, 2012

DIY School Keepsake Box

My youngest niece is starting kindergarten in a few weeks.

I'm pretty sad because that means all the kids in the family are officially old farts. We have no itty bitty cutie wooties anymore! 

 Now they all know what were talking about so we have to watch what we say...... they're swimming without floaties......and getting their ears pierced!  I just can't take it!

This is why I'm campaigning hard to get my sister Kinsey  (she's the 3 daughter and 3 years older than me) to get that eggo preggo!

Sure, I may be the married one and she's not  (but really.....what does that matter these days) .....and sure I'm the one who is having the baby fever......but homegirl needs to make me a baby!

I REALLY REALLY want the excitement of a pregnancy and birth and the fun of a baby around.....but I'm totally not ready myself.  In fact I wanted a kid more before I was married than I do now that I am.  With each passing day I add an extra year onto the ETB  (estimated time of baby)

That's why I think it's time for her to do it!  It will bridge the gap and then give my kid a cousin that's 2 or 3 years older.....friggin perfect!!!

And not to mention her boyfriend isn't getting any younger....he turns 31 this week

Ok......so I  know it's not THAT old but work with me here people.....I'm campaigning.....you reach a little.

Of course this is all in good fun....I wouldn't really want to push anything.....just make them realize what they really want deep down inside ;) haha 


Anyways...kid starts kindergarten.....I'm sad.....but somehow during this depression I thought of a great idea....why not make my niece a cute keepsake box for all her Kindergarten treasures

Kindergarten is the year where every paper, drawing, note, sticker, and rock is the most important thing in the entire world.   You need a place to put it all.  

Find a good box and wrap it up

I used the same method to cover the box as I do in my CUPCAKE STAND TUTORIAL  <-----Click

That way there isn't any folds on the side and it looks a little more clean


Then I cut a piece of poster board to cover the top of the box and decorated it to look like a piece of paper


 I found some card stock school themed stickers  on clearance over by the scrapbook paper in Michael's.


I stick them to poster board and then trimmed them to size just to make them a little more sturdy.

I hot glued some cardboard pieces onto the backs of them so that they will give a pop out effect to the box

Yes, I work on paper plates


Write what you want on it and glue on your stickers


I really like the pop out stickers it really makes the whole thing....well....pop!

I used the other stickers I had to decorate the sides of the box


I am entirely prepared for my niece to really not care when I give this to her.  This is after all the same little girl that loudly exclaimed  "It's JUST shoes"  when she opened her birthday gift from me.  haha

It's one of those gifts that adults will appreciate more.  But I have hope that she just MIGHT get excited the first time she brings home something worthy of putting in the box.  And maybe someday when she's older she'll look back and smile.


DIY School Clock...Tick....Tock

My mom is the assistant in a special needs classroom and I wanted to make her some cool stuff so that when people walk in they officially dub it the most badass classroom ever!  

Or at the very least Ooohhh and aaaahhh over it and get extremely jealous.

Either one works for me.


I found these totally awesome clocks at my peaceful place (99c Only)


Now tell me how you can beat that?  Really......somebody tell me!

Just make sure that when you are looking for a clock that you find one that has plenty of room between the face and the glass......otherwise it sort of limits the things you can use to decorate with

And we don't like limitations.  We like to be free.  

Cuz that's how its s'posed to beeeee......living young and wild and freeeeee.

(Just a quick musical reference there for ya!)

Take your clock  apart and CAREFULLY pull of the hands of the clock

Using wire cutters cut the ends of the hands off right where it starts getting all fancy looking, just leaving a straight line.


 When it comes to the "seconds" hand you have to cut off the arms completely.....just leaving the small circle

This is so your hands can move and not get stuck on your decorations.....because then we would have problems. 

 And the hands wouldn't move.   

So time would stand still.  

And depending on how your day is going that could be a REALLY good thing or a REALLY bad thing.


Then.....cut out scrapbook paper of choice to use as the face.  Just use a protractor to measure it correctly.

Before you glue down the paper....use post its to mark where each number goes.  You don't want to glue things down wrong


Then of course glue down your paper


Lay down your items in place of your numbers.  This is where marking with the post its comes in handy.

I used erasers, paper clips, crayons, pencils, sharpeners, & staples

Before I hot glued them down I put the hands back in and spun them around to make sure they didn't hit anything or get caught.

Then just glue them all down and put your clock back together


I made 3 different versions


And your done!


Perfect gift for the teacher in your life


Your mom that's a teacher
Your sister the teacher
Your kids teachers
Your nephews teacher
Your neighbor the teacher


Need me to keep going?
Cuz I can


Your brother the teacher
Your 2nd cousin the teacher......


Monday, July 16, 2012

Cherry Cheesecake Parfait

Lately at work I've been on a parfait kick.

Everyday a different flavor.....
It's a sickness really
I just can't seem to help myself
I can't look at anything without thinking of how I can somehow turn it into a parfait.

I've made oreo, butterfinger, banana cream, strawberry shortcake, lemon and strawberry cream...you name it!
(I'll probably end up showing them all to you at some point)

And of course.......

Cherry Cheesecake!

Now I love cheesecake.....but it's a real pain in the ass!
Well, maybe not so much a pain in the ass as much as it is time consuming.
 It requires patience and this broad over here has no time for that.

I get impatient waiting for popcorn to pop
So the thought of going through the whole process of mixing and baking a cheesecake.....and THEN having to wait overnight for it to chill in the fridge makes me exhausted and I scrap the whole idea all together.

Which is why I've probably only made cheesecake about 4 times in my life.....ever.
2 of those times were in culinary school too.

This takes about 20 minutes tops to make and it you get to eat it right away
 Instant gratification is how I roll


Start by making your graham cracker "crust"
Now I never really follow an exact recipe.  I do it to my own taste
And the awesome part about making it to taste....is you HAVE to keep dipping your fingers in the sugary, grahamy goodness to make sure it tastes right.  Oh darn! =)

But here is a recipe I have written down that will give you a good starting point

1 1/2 C. Graham cracker crumbs
1/4 C. Sugar 
1/3 Melted butter
( I always use brown sugar....cuz I like my sugar like I like my men  ;)......and it's just yummier!
But you can certainly use white sugar if you want)

Next comes the cheesecake part

 (2) 8oz Packages of softened cream cheese
2 1//2 cups powdered sugar
1 Tb. Vanilla Extract
1/2 C. Heavy Cream

Mix the cream cheese with the vanilla, and slowly add in the sugar.
Then gradually pour in the heavy cream.
Start with 1/4 c. and slowly add it until you get the consistency you desire.
I usually use 1/2 c.

Layer alternately in a parfait glass with your topping of choice. 
I used canned cherry pie filling.....but if you're feeling froggy you can make it from scratch.

I do a layer of crumbs on both the top and bottom....because in my dream world allllll cheesecakes would have a top AND bottom crust.  It's my favorite part.

At buffets I'm known to get a slice of cheesecake just to peal off the crust.

Wasteful I know.
But your mind set about food and waste all kind of goes out the window when you walk through the doors of a buffet
It's also the only time or place I allow myself to dip my french fries in mashed potatoes lol
It pretty much goes against everything I believe in but that's part of the fun of being there

Back to cheesecake.............

Layer it up and eat it right away.

No waiting required!


^^^This is the home version^^^


And this here is what they look like when I sell them To Go at work


Swap out the toppings

Blueberry, strawberry, apple....whatever!

Oh and they look cute too!


Tuesday, July 10, 2012

Zebra Corset Cake

As I've mentioned before, I used to sell cakes.  

Yes...."used" to 

Sadly it became one of those things that you start out loving....and then ending up hating!  It just took up so much time I started to resent it.  

The weekends I was off from my job I hated doing it because I never really got to be "off"  Then on the weekends I did work I would be up all night doing cakes and what little sleep I did get was filled with nightmares of cakes falling over, or going to deliver it and they HATE it!  I would get up out of bed about 6 times to go check on it and end up standing there staring at it for 5 minutes at a time.

I started doing them when I was unemployed....I seemed to be getting pretty good at it and people were asking for them....so I figured why not?

I kept doing it when I got a part time job to supplement.....and the numbers of cake requests kept growing.

Then, I got the job I have now and It just became too much.   It had hit that odd point where I wasn't making enough money from it to quit my job and just do cakes.....but I was getting too much business for it to be a "side" job. After doing it for about 2 years, I had to give it up.  I was miserable and home never got to be "home" I went from my 9-5 job and then home to my "caking job"

I used my wedding as an excuse to sort of turn down orders about a year ago.  I really DID need the time to focus on my wedding (especially since I DIY'd alot of it) but it was a good way to not feel so bad about saying no.....I have a REALLY hard time with that!  I  always feel like I have to give people a reason for saying no....when in reality it needs no explanation.

Then, after my wedding came and went in November....I sort of spread the word of my retirement.


It was definitely for the best....but still sort of sad.  I hope to get back into it someday...but not for money...just as a hobby again.   I know that as soon as I have kids I will be making them some Bangin birthday cakes! haha

_________________________________________________________________________


Now that you've heard waaaaaaay more then you ever wanted to hear.....I thought I would share a cake tutorial with you!

I did the cake nearly 2 years ago, so I don't have step by step photos.....sorry!

But it's pretty simple directions


1.  Bake a sheet cake in a jelly roll pan.  They bake up thin in this pan so I stacked 2 layers.

2.  Carve the body shape.  The pan already lends itself well the the body shape so all you really have to do is cut a little of each side to create the curves of the hips.


3.  Bake two small cakes in glass bowls to create the boobies.  Turn the oven down 325 or even 300 when you bake these because they are deep and it takes a while for the middle to cook through and you don't want to burn the outside.  After the have cooled trim the bottoms flat so they sit nicely on the body

4.  Crumb coat the entire body, then frost with a thin layer of buttercream.  My Coffee Creamer Buttercream works beautifully.

5. I used to make my own Marshmallow fondant.  You can find recipes online or you can leave me a message and I can give you directions. I made a small batch that was skin colored.  I rolled it thin and then cut a straight line on one side.  Cover the top portion of the cake (the chest) with this fondant leaving the straight line up to where you want the corset to come up to.


6. Then do the same thing with whatever color you want the corset to be, taking the straight edge right up to the skin colored, letting them meet.  It doesn't have to meet perfectly because you can do what I did and add a lining to the top to cover imperfections. 


7. Then just decorate with black fondant cutting out zebra stripes and strips for laces....or however the heck you want to decorate it!

'


It would be perfect for a wedding shower or bachelorette party!   

This particular cake was ordered by a girl who bought it for herself....................for her own birthday.   And she wasn't even having a party.


Is that odd to anybody else?  -__-  Cuz I thought so

But I sure did take that $$ hahaha


Hey.....a girls gotta eat! =)

Thursday, July 5, 2012

Easy Fire Free Smores

Awww Smores......good ole classic summer fun!
But sometimes you don't have access to a fire....or you're lazy (like me)

OR

It could be like here in AZ where there's fire restrictions
 But what the heck is camping without smores? 
 You gotta have them!

That's when you make these

Ok Ok....I know that in THIS POST I made a big stink about how I turn up my nose at canned frosting......and now here I am using some.


You can call me a hypocritical Bi-otch if you want.


I'll allow it.


Easy peasy!

Perfect for packing in lunches too.
I used to include these as the dessert when I was poor and hustling sandwich lunches to make ends meet.

But that's another story for another day! 
Point is...they are an easy make ahead.
You can send them along with your kid on sleepovers and premake them for a large crowd at the campsite.


And don't you fret...they're just as messy as the real deal.  ;)

The Trick To Cutting Olives Easily

So I was making my potato salad the other night for the 4th.
Of course chopping the onion, the celery, the egg....
and then it came time to slice the olives in half.

That's when it occurred to me that not everyone might know the handy dandy little trick I do for cutting them in half.

It's actually something I learned from my husband
 this is how they do it at the catering company he works at
Because of course....time is money!! You have to get your prep done quick

Here's what you do

Get 2 deli container lids
Like the kind that come on the olive bars in the deli
Or sour cream lids will work too


 Fill one of the lids with your olives


Place the other lid over the top 
and slice in between the two lids


The result?


Perfectly sliced in half olives!
Done in a snap and they aren't rolling all over the place 


And it's not just for olives....No sir!

Now you can easily and quickly slice any chokeable item.


You know.....the things you can't leave around for toddlers.

Grapes, cherry tomatoes, cherries....those kinds of things!


Speaking of chokeables...have you ever watched In the Motherhood?
Well you should!

It started as an internet show with Chelsea Handler (my favorite!) Leah Remini,(she's hilarious) and some lady I don't know


Here's an episode where the ladies get together and eat all the chokeables they never get to have when their kids are around

Funny stuff huh?

Sunday, July 1, 2012

4th of July Cake

Just wanted to share a few pictures from 4th of July last year.

Look at this cool cake


I got the tutorial from here  

Here is my niece Brooke chowing down on the sweet delectables


And of course Wrigley is nearby just in case something is dropped

And here is Elsa showing off her berry creation


Have you seen the Pin on Pinterest of raspberries stuffed with chocolate chips?
Well, Elsa did it with blueberries!  Homegirl was WAAAAAY ahead of the times.  I'm proud.